As an Amazon Associate, we earn from qualifying purchases. Some links on this site are affiliate links at no extra cost to you. Our recommendations are based on thorough research and editorial judgment.
How To Patch A Sleeping Pad?
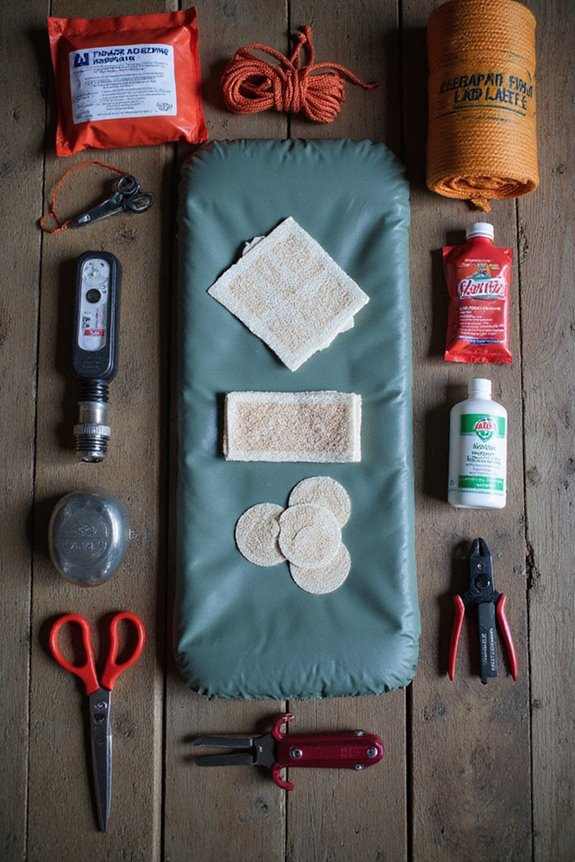
Patching a sleeping pad is easier than it sounds! First, let’s gather our supplies: alcohol wipes, a patch kit (like Tenacious Tape), scissors, and glue such as Gear Aid Seam Grip. We’ll inflate the pad and listen for leaks. Once we find them, clean the area with rubbing alcohol and let it dry. Next, apply adhesive and press the patch firmly. After a night of curing, we’ll test for leaks again. Stick with us, and we’ll share more tips for that trusty pad!
Key Takeaways
- Gather necessary supplies, including cleaning materials, patch kits, adhesives, scissors, and a marker for effective patching.
- Detect leaks by inflating the pad and using the soapy water method or submersion test to identify bubble formations.
- Clean the patch area thoroughly with rubbing alcohol to ensure proper adhesion and let it dry completely before applying a patch.
- Apply adhesive around the hole and securely place the patch material, allowing it to cure for 8-10 hours for optimal results.
- Test the repair by fully inflating the pad and checking for leaks, repeating the process if necessary.
Gather Necessary Repair Supplies
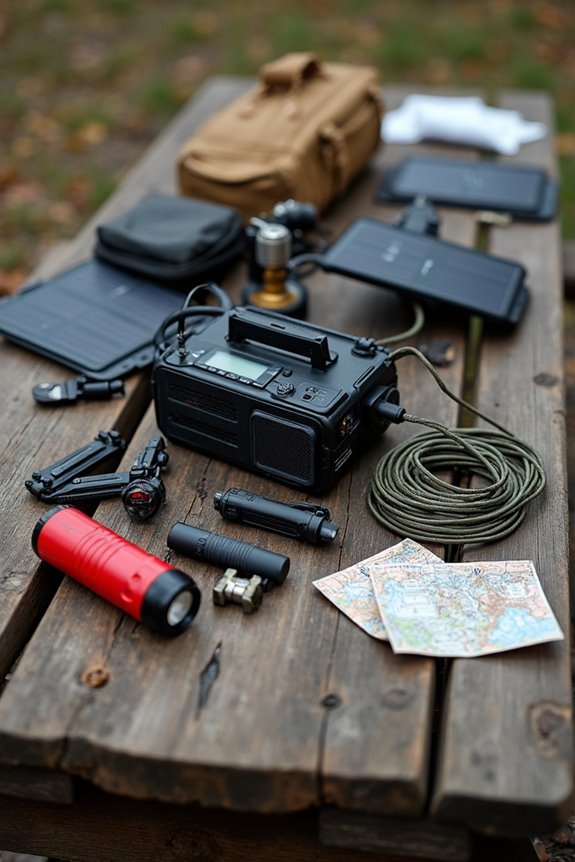
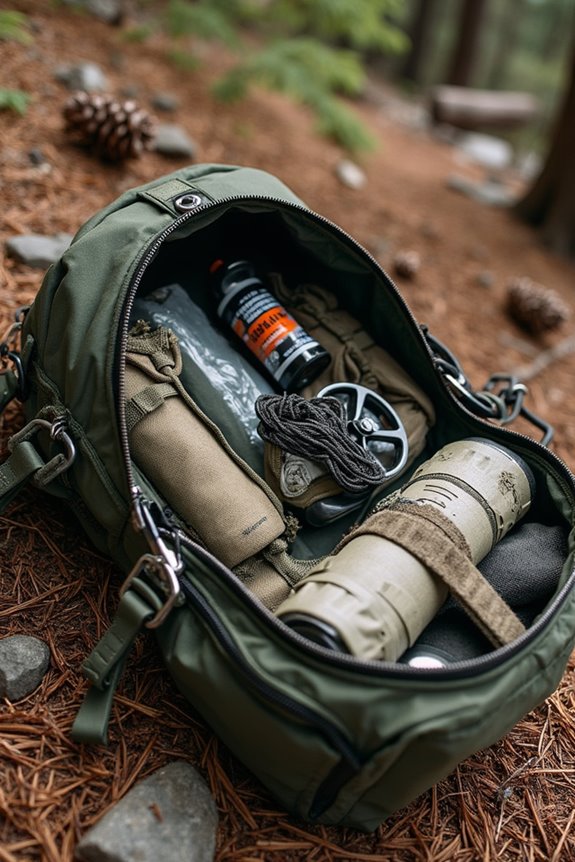
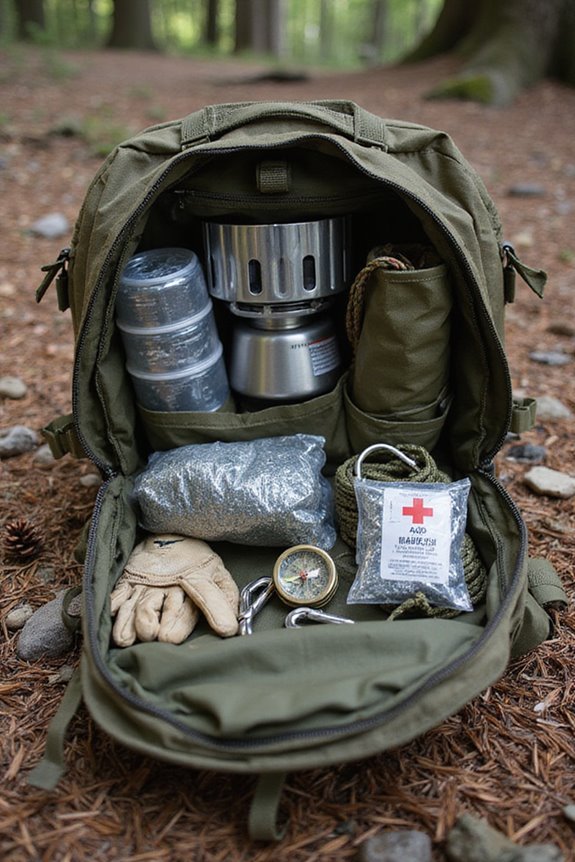
When it comes to patching a sleeping pad, the first step is gathering the right repair supplies—think of it as setting up your toolbox before a big job. We’ll need a few key materials and tools to make the process smoother. Grab some alcohol wipes or rubbing alcohol for a clean surface, along with mild soap and a clean cloth for general cleaning prep. Next, we’ll want specialized patch kits, flexible options like Tenacious Tape, and adhesives like Gear Aid Seam Grip. Don’t forget scissors for trimming patches and a marker to outline the area. Being prepared will make using those patching techniques easy, so let’s get our supplies together, and we’ll be ready to tackle that sleeping pad! Having durable repair materials will ensure your patch holds up during your outdoor adventures.
Detecting Leaks in Your Sleeping Pad
After gathering our repair supplies, it’s time to pinpoint where the leaks might be lurking in our sleeping pad. First, let’s inflate it as firmly as we can; listen closely for any hissing sounds that suggest air escaping. Common leak types hide near the valve and seams, so pay extra attention there.
For elusive leaks, the soapy water method is our best friend. Mix water with a few drops of dish soap and spray it onto the pad; watch for bubbles forming. Alternatively, we can try the submersion bubble test by dipping the pad underwater, looking for tiny streams of bubbles.
Let’s take our time, methodically checking each section. With patience and persistence, we’ll uncover the culprit and get back to our adventures! Additionally, ensure your sleeping bag’s temperature ratings match the conditions you’ll be facing outdoors for optimal comfort.
Cleaning and Preparing the Patch Area

To restore our sleeping pad effectively, we need to start with a clean slate—or rather, a clean patch area. First, grab some rubbing alcohol or isopropyl alcohol—this’ll do wonders as a cleaning method. Water’s a no-go, since moisture can ruin our patching plans. If we’re out camping, alcohol wipes from our first aid kit work great, too!
Let’s make sure the area is completely dry—moisture will ruin our adhesive. We can pat it dry with a towel, but let’s just avoid applying heat, okay?
Finally, let’s check for any dust or debris we might’ve missed. A quick wipe with a clean rag is a smart last step. Some portable water filters remove over 99.99% of bacteria, ensuring cleanliness is vital for successful repairs. Now, we’re ready to choose our patch materials and move forward!
Applying Adhesive and Patch Correctly
Applying adhesive and patch correctly is essential, as this step can mean the difference between a solid repair and a pesky leak. We need to choose adhesive types like Seam Grip or Loctite flexible adhesive. These stay soft after drying, ensuring comfort!
Let’s clean the area with rubbing alcohol to remove dirt—this helps our adhesive stick better. When we apply a dime-sized amount in a nice, smooth circle, we’ll extend the coverage past the hole.
After that, we carefully press our patch material, ideally Tenacious Tape, onto the adhesive. Remember, rounded edges reduce peeling! It’s also helpful to choose patches made from high-count polyester, as they can provide better durability during your outdoor adventures. Let everything cure undisturbed for about 8 to 10 hours, because patience is key for a durable seal.
Testing the Repair Effectiveness
We all know how disappointing it is to discover a leak in our sleeping pad after a long day of hiking. So, let’s put that repair method to the test! First, we’ll fully inflate the pad to increase air pressure. This helps us spot leaks better. We can listen for hissing or visually inspect for bubbles using a soapy water solution.
Remember to mark any leaking spots for clarity later on. After we’ve patched it up, we should allow the adhesive to cure overnight. Then, we’ll reinflate our pad and let it sit for a few hours, checking for any sneaky leaks. If we see bubbles or hear air escaping, it might be back to the drawing board! Ensuring that the repair method is effective can be as crucial as selecting high-quality materials like BPA-free options to enhance the longevity of your outdoor gear.
Field Repair Tips and Best Practices
When a leak strikes your sleeping pad during an outdoor adventure, having the right field repair tips can save the day. First, we should pack patch materials like Tenacious Tape or Tear-Aid and a reliable adhesive like Gear Aid Seam Grip. Don’t forget alcohol wipes for cleaning the area; trust us, they’re key for a strong bond!
To fix it, fully deflate the pad and clean around the puncture. Cut a patch about an inch larger than the hole and stick it on with your adhesive. Press firmly—imagine you’re sealing in all the cozy vibes! Additionally, making sure you have a stable base for your sleeping pad can help prevent leaks from occurring in the first place.
Finally, weight it down with something handy while it cures. Now you’re ready to enjoy the rest of your adventure, leak-free!
Maintaining Your Sleeping Pad for Longevity
Keeping our sleeping pad in top shape is essential for a comfortable night’s sleep in the great outdoors. For sleep pad maintenance, we should start by using a damp cloth and mild, non-detergent soap to tackle any dirt or stains—no soaking required! Let’s remember to keep those valves closed to prevent water from sneaking in.
When storing our pads, we want them clean and bone dry, preferably in a cool spot, unrolled with valves open. Avoid battle scars from sharp objects at the campsite! We can also use pump sacks to inflate our pads, keeping moisture out.
Frequently Asked Questions
Can I Use Duct Tape Instead of Specialized Patches?
While duct tape can offer temporary fixes in a pinch, its effectiveness for sleeping pads is limited. We should always opt for specialized patches to guarantee a reliable, long-lasting repair, just like we deserve on our adventures.
How Long Does It Take for the Adhesive to Cure Completely?
Cure times really depend on adhesive types. We’ve found that some can set in just an hour, while others need overnight for a solid bond. Let’s guarantee our patch is ready before packing up!
Is It Possible to Patch a Pad Underwater?
No, we can’t patch a pad underwater. While underwater patching techniques help locate leaks, actual patching must be done on dry surfaces. Let’s work together to guarantee our repairs are effective and lasting!
What if I Don’T Have Alcohol Wipes for Cleaning?
When we’re caught without alcohol wipes, let’s embrace alternatives like hand sanitizer or Dr. Bronner’s Soap. In emergencies, these cleaning methods can still shine, ensuring our patch solutions are ready for action and adventure.
Can I Use a Hairdryer to Speed up Curing Time?
We wouldn’t recommend using a hairdryer to speed up curing time; while it may seem effective, it risks damaging the patch and sleeping pad. Let’s stick to room temperature for a secure repair!